- What to Know
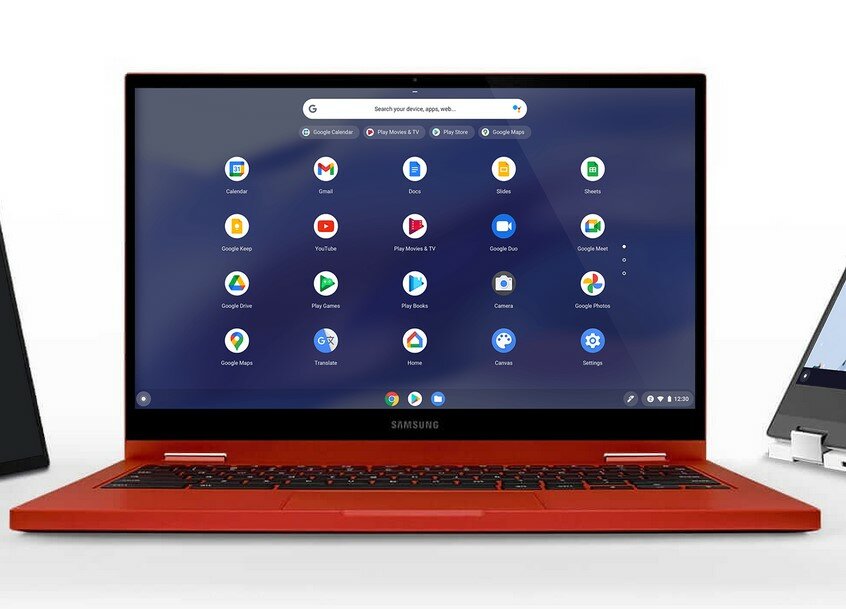
- To navigate the file you want to delete, Launch Chromebook > Click on the App Launcher Icon on the left-bottom corner.
- App Drawer > Files tab > File you want to delete.
- Right-click on the File. Go to Properties > Remove the Checkmark from the Read-only option.
- Tap on the File again > Press the Trash cab icon on the bottom-right corner of the window.
Are you disgusted by the idea that the files stored on your Chromebook are read-only? If I tell you that there’s a way to delete these read-only files, you need to read the article. You can do that, right? After reading it you’ll know exactly how to delete read-only files on Chromebook.
For people who don’t know, the read-only files mean that you can view and edit those files, but you cannot delete them as that’s how ChromeOS works. Let me take you through it in two parts so you can better understand and implement it.
So let’s get started.
How to Remove the Read-Only Attribute from Files
Before deleting a file, you need to change the read-only attribute from that particular file. The Chromebook usually stores all the information in the cloud storage, due to which you will permanently delete anything you delete from the laptop.
To prevent this from happening, they added the read-only attribute to all the files that you download so that you don’t delete them unintentionally. But there’s a way to change that attribute, and to know that, read the steps below:
- Launch your Chromebook. On the bottom-left corner, you will see the App Launcher icon. Click on it to open the App Drawer, where all the apps remain.
- In here, navigate to the Files app. The files app contains all the photos, files, and everything you download.
- Inside this app, navigate to the file or folder on which you want to change the read-only attribute.
- Now that you are on the file click on the file to select it.
- Now you will see three dots on the top-right corner. Click the dots, and a drop-down menu will appear from where you will select the settings option.
- A prompt will appear in front of the screen. You can see the read-only option that will be grey if the file is open in a tab. If not, then you can see the checkmark in front of it.
- Remove the checkmark from behind so that you can quickly delete this file without interruption.
How to Delete Read-Only Files on Chromebook
Now that you have successfully changed the read-only attribute, you are ready to delete the file. Make sure to make up your mind before deleting it, as you will delete it permanently, and you won’t be able to recover it. You can also back up the files on Google drive for extra security.
Now, to delete the files entirely, follow the below-mentioned steps:
- By following the steps in the previous heading, you may already be on the file you want to delete.
- If not, then read out the steps above and then come down here to complete the deletion process as the last heading is essential.
- Now that the read-only attribute is changed. Click on the file again.
- Instead of pressing the three dots, click on the trash can icon just beside those three dots.
- It will ask for confirmation if you want to delete the file. Press Ok, and you are done. Your file is successfully deleted from your Chromebook.
Conclusion
It can be pretty challenging for people who are new to the Chromebook. There are certain functions that need some extra knowledge to perform. Such as the deletion of read-only files.
I have made the details clear for you so you can delete those unnecessary files. Follow the steps mentioned above, first by changing the read-only attribute and permanently deleting the file for good.

0 Comments